by Numberall | May 22, 2025 | Hand Held Numbering Heads, Metal Marking
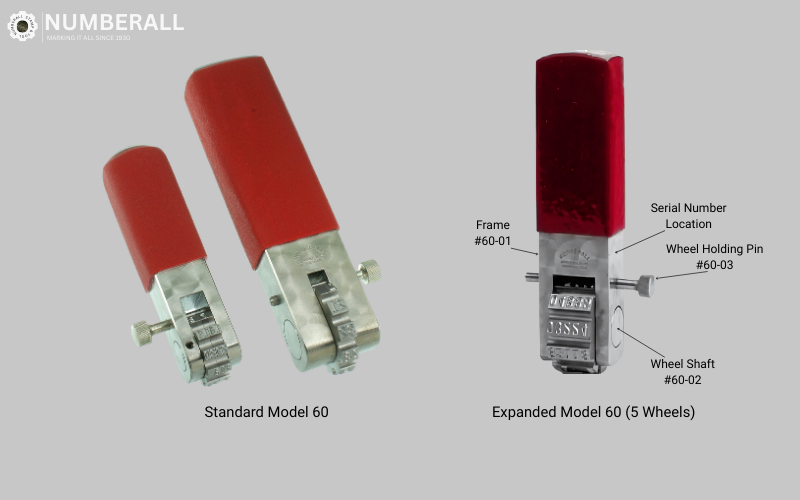
Learn about Numberall’s enhanced Model 60 Handheld Numbering Machine, now with larger 5/32” and 3/16” character sizes. Enjoy economical, durable, and versatile marking for parts, keys, tags, and more.
by Numberall | Mar 25, 2025 | Benefits of Indent Marking, Custom Applications, Roll Marking Presses
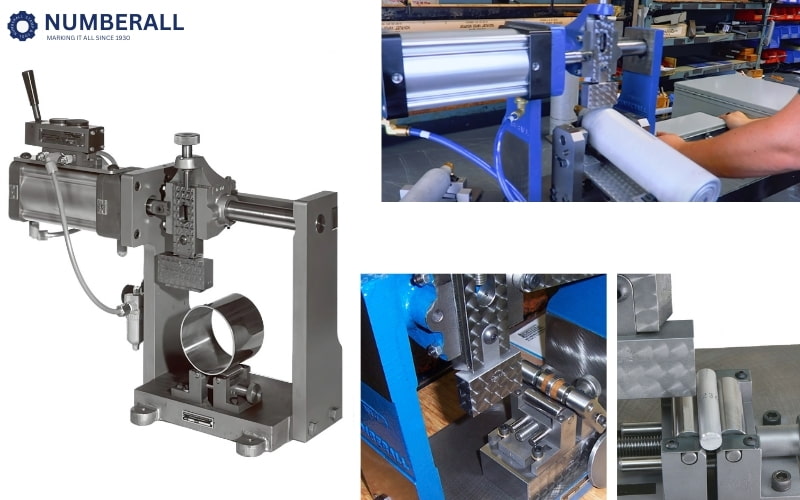
Discover Numberall’s 301A Oversize Arm Roll Marking Press for precise, durable marking of cylindrical parts. With expanded capacity and custom solutions, it’s ideal for automotive, aerospace, and more. Learn how it boosts efficiency!
by Daniel Bayerdorffer | Jul 13, 2024 | Benefits of Indent Marking, Hand Stamps, Industries Using Metal Marking
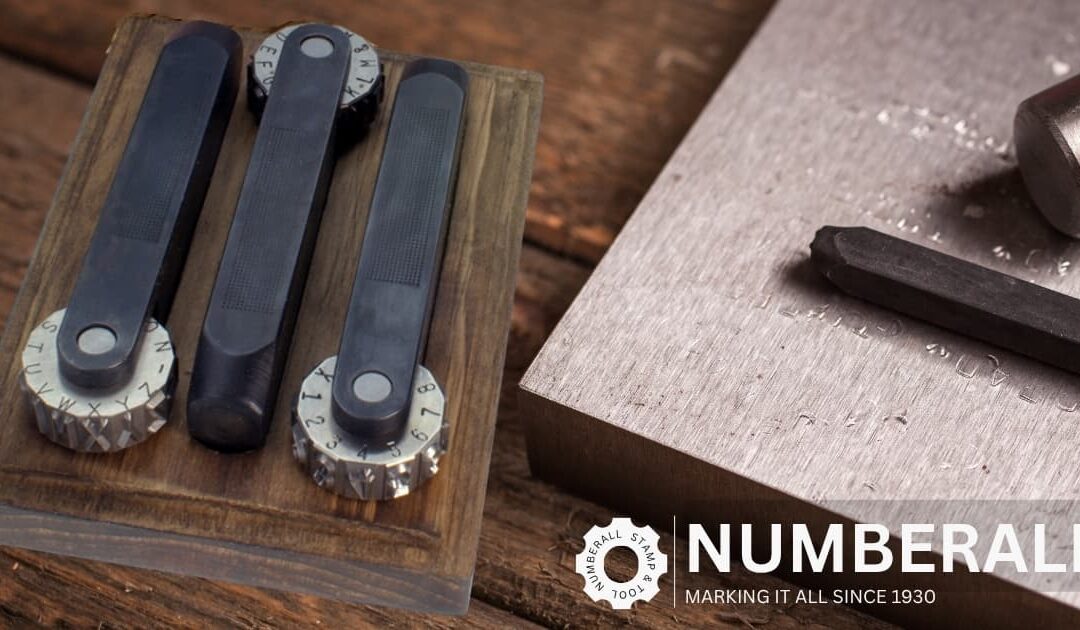
Simplify your manual marking with Numberall’s rotary stamps. This product spotlight highlights the tool’s ability to hold multiple characters in a single wheel, allowing for fast, precise indexing and deep indenting.
by Editor | Jun 30, 2016 | Benefits of Indent Marking, Industries Using Metal Marking, Numbering & Lettering Presses
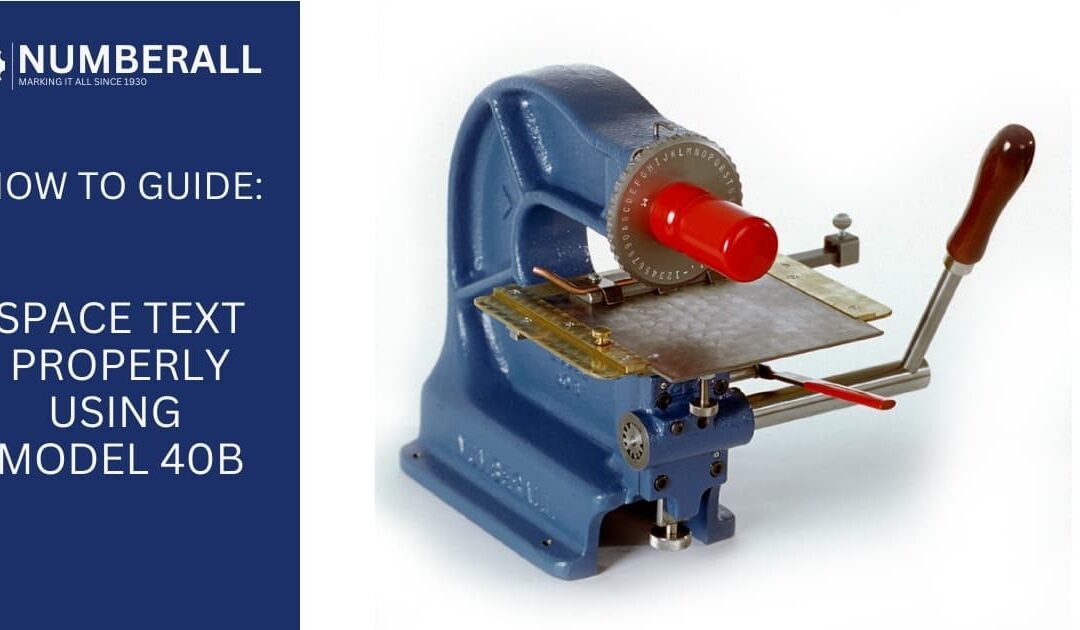
Achieve professional results by mastering text spacing on the Numberall Model 40B. This guide explains how to utilize the machine’s manual controls to ensure uniform character gaps and precise alignment on every part.
by Editor | Jun 15, 2016 | Blog
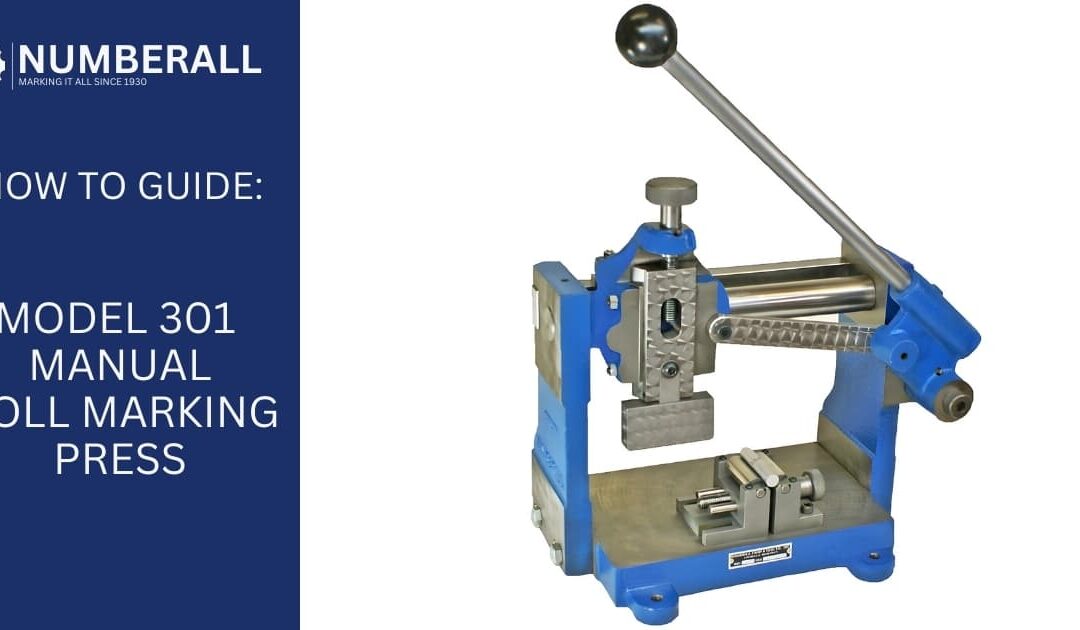
Optimize your marking process with our comprehensive guide on how to use the Model 301. From initial setup to fine-tuning character depth, this manual provides the technical steps needed for precision metal marking.